The Ultimate Guide to Fixing a Dripping Faucet
By Jennifer Barnett · Jul 25, 2025
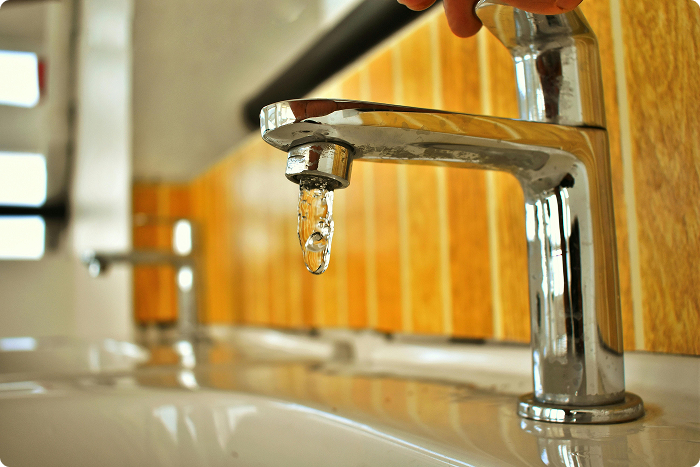
A dripping faucet is more than just an unwelcome symphony keeping you awake at night. It's a small issue that can silently hike up your water bill and even lead to water damage if ignored. If you've ever wondered, Why is my faucet leaking? or How can I fix a dripping faucet?, you're not alone. Many homeowners face the same dilemma and hesitate between DIY fixes and professional plumbing services. This comprehensive guide aims to answer all your questions, from understanding the common causes of a leaky faucet to learning about the best tools for faucet repair. By the end of this article, you'll not only know how to tackle this problem but also how to do it cost-effectively, whether by doing it yourself or hiring a professional.
Why is My Faucet Leaking?
Understanding the root cause of your dripping faucet is the first step to a successful repair. Here are some common reasons why your faucet may be leaking:
Worn Out Washer
The most common culprit behind a dripping faucet is a worn-out washer. Washers are tiny rubber or silicone rings that create a watertight seal when the faucet is turned off. Over time, these washers can wear out, tear, or become dislodged, causing leaks.
Corroded Valve Seat
The valve seat is the connection point between the faucet and its spout. Corrosion is a significant issue here. When water sediments accumulate, they can corrode the valve seat, leading to leaks around the spout area.
Loose Parts
As faucets age, parts may become loose due to regular use. This can include various nuts, packing, rings, or O-rings within the faucet. Loose parts can't form a proper seal, causing water to leak.
Worn-Out Cartridge
Modern faucets often use cartridges that can wear out over time. If the cartridge is damaged, it won't form a tight seal, leading to leaks.
High Water Pressure
Excessive water pressure can cause water to seep out even when the faucet is off. If your home has high water pressure, it can be a contributing factor to your leaky faucet.
How to Fix a Dripping Faucet
Once you've identified the cause of the leak, the next step is to fix it. Here's a detailed guide on how to fix a dripping faucet for different types of faucets.
Tools You'll Need
-
Adjustable wrench
-
Screwdrivers (flat-head and Phillips)
-
Pliers
-
Replacement parts (washers, O-rings, cartridges, etc.)
-
Plumber's tape
-
Penetrating oil (optional for rusted or corroded parts)
Steps to Fix a Dripping Faucet
Step 1: Turn Off the Water Supply
Before you start any work, make sure to turn off the water supply to the faucet. You can usually find the shut-off valves under the sink. Turn them clockwise to close. After shutting off the water, open the faucet to drain any remaining water.
Step 2: Plug the Drain
To prevent small parts from falling down the drain, cover it with a sink plug or place a towel over it. This will save you a lot of trouble later on.
Step 3: Identify Your Faucet Type
Understanding your faucet type will guide you in selecting the correct replacement parts and repair process. There are four main types: compression, ball, cartridge, and ceramic disk faucets.
Step 4: Disassemble the Faucet
Using a screwdriver and wrench, carefully remove the faucet handle and gain access to the internal components. This typically involves prying off decorative caps, unscrewing nuts, and removing internal parts.
Step 5: Inspect and Replace Damaged Parts
Check each part for wear and tear. For compression faucets, the problem is typically a worn washer. For cartridge or ball faucets, you might need to replace O-rings or the cartridge itself. Ensure you acquire the correct replacements from a hardware store.
Step 6: Reassemble the Faucet
Once you've replaced the damaged parts, reassemble the faucet in the reverse order you took it apart. Ensure all components are tightly secured and in the right position.
Step 7: Turn On the Water Supply and Test
Turn the shut-off valve back on and run the faucet to check if the leaking is resolved. If the drip persists, double-check your work or consider consulting a professional.
Best Tools for Faucet Repair
Having the right tools can make the repair process smoother and more efficient. Here are the essential tools you'll need:
Adjustable Wrench
An adjustable wrench is versatile and can be used for loosening and tightening nuts and bolts. It’s particularly useful when dealing with various faucet sizes.
Screwdrivers
Both flat-head and Phillips screwdrivers are essential for removing faucet handles and accessing internal components.
Pliers
Pliers, especially needle-nose pliers, are handy for gripping and turning parts like the valve seat. They provide the leverage needed to work in tight spaces.
Allen Wrench
Often used for loosening set screws on faucet handle assemblies, an Allen wrench is a must-have tool for modern faucets.
Plumber's Tape
Plumber's tape, or Teflon tape, helps ensure a watertight seal on threaded connections. It can be especially useful when dealing with older plumbing.
Replacement Parts
Depending on your faucet type, make sure you have the necessary replacement parts like washers, O-rings, and cartridges.
Pro Tip:
Always organize small parts and screws in a container or tray during disassembly. This will make reassembling the faucet much easier and prevent losing crucial components.
Leaky Faucet Repair Cost
Determining the leaky faucet repair cost involves considering the type of leak, needed parts, and whether you opt for a DIY approach or hire a professional. Let’s break down the costs:
DIY Repair Costs
Replacement Parts
-
Washers: $1 - $2 each
-
O-rings: $2 - $10 per set
-
Cartridges: $15 - $50 depending on the type and brand
-
Valve Seats: $10 - $30 based on material
Tools
If you don't already own basic plumbing tools:
-
Wrench Set: $10 - $30
-
Screwdriver Set: $5 - $20
-
Pliers: $10 - $20
Professional Repair Costs
Labor
-
Hiring a plumber generally costs between $75 to $150 per hour, depending on your location and the complexity of the repair.
-
Some plumbers offer flat rate services averaging $100 - $300 for faucet repair, including parts and labor.
Response Fees
- Immediate response or emergency services may incur additional fees ranging from $50 to $100.
Overall Comparison
-
DIY Repair: Estimated total cost ranges from $10 to $60, including replacement parts but excluding tools if you already have them.
-
Professional Repair: Estimated total cost ranges from $75 to $300, including labor, parts, and any additional fees.
Choosing between DIY and professional repair will depend on your comfort level with tools, available time, and the complexity of the repair.
Conclusion
A dripping faucet is a common but significant issue that can escalate your water bills and cause water damage if ignored. Understanding the root causes of why your faucet is leaking and knowing how to fix a dripping faucet can save you both money and headaches. Whether you decide to undertake the repair yourself or hire a professional, it's essential to act promptly.
For those confident in their DIY skills, this guide provides a step-by-step approach to solving the problem. On the other hand, if you prefer professional assistance, reliable plumbers are available to assist. Find a Pro and get your dripping faucet fixed by experts.
Remember, attending to small issues like a leaky faucet promptly helps maintain your home in top shape and prevents future problems. Happy fixing!
Need help?
Let HouzTask help you diagnose the issue or connect with a trusted local pro — in minutes.
Get Started with HouzTask